Description
The julian variation (sometimes written juliaN to emphasize its relation with Julia sets, see below) is a popular one for flames, and the basis for many other variations. It is most easily understood using polar coordinates (see polar), where points are identified by an angle θ and a distance ρ from the origin. The angle θ is divided by the power parameter (which must be an integer), which compresses the plane radially. Think of folding a Japanese hand fan partway. The result is then replicated to make power copies around the origin. In addition, ρ is reduced to keep the original proportions; this leaves a hole in the center.
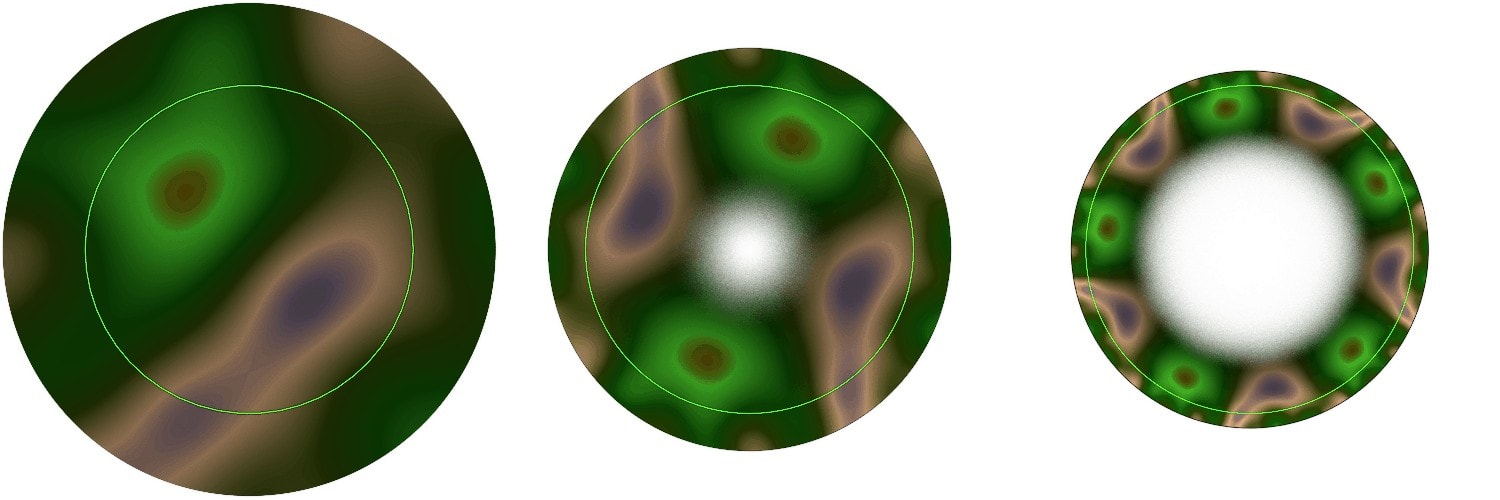
To illustrate, let’s take a dc_perlin pattern three units across, overlaid with the unit circle, as shown in the left image. The middle image shows the effect of julian with power 2. Notice how there are two copies of the original pattern, which are changed a bit but still look similar to the original. The right image shows julian with power 5; this time there are five copies of the pattern. The unit circle remains the same size; points outside the circle move inward and points inside the circle move outward (leaving a hole with a fuzzy boundary) to compensate.
Name: julian
Type: 2D
Name: eJulia
Type: 2D
Author: Michael Faber
Name: julia
Type: 2D
Name: juliac
Type: 2D
Author: David Young (Sc0t0ma)
Name: julia3D
Type: 3D
Author: Joel Faber
Name: julia3Dq
Type: 3D
Author: Peter Sdobnov (Zueuk)
Name: julia3Dz
Type: 3D
Name: julian2
Type: 2D
Author: Georg Kiehne (xyrus02)
Name: julian3Dx
Type: 3D
Author: Georg Kiehne (xyrus02)
Name: juliascope
Type: 2D
Name: juliaq
Type: 2D
Author: Peter Sdobnov (Zueuk)
Name: phoenix_julia
Type: 2D
Author: Chris Johns (TyrantWave)
A second parameter, dist (for distort) allows adjusting the strength of this compensation. The default value of 1 is used above, which keeps shapes as close as possible to their original. Increasing dist to the same as power will prevent changing ρ at all, eliminating the hole but distorting the shapes.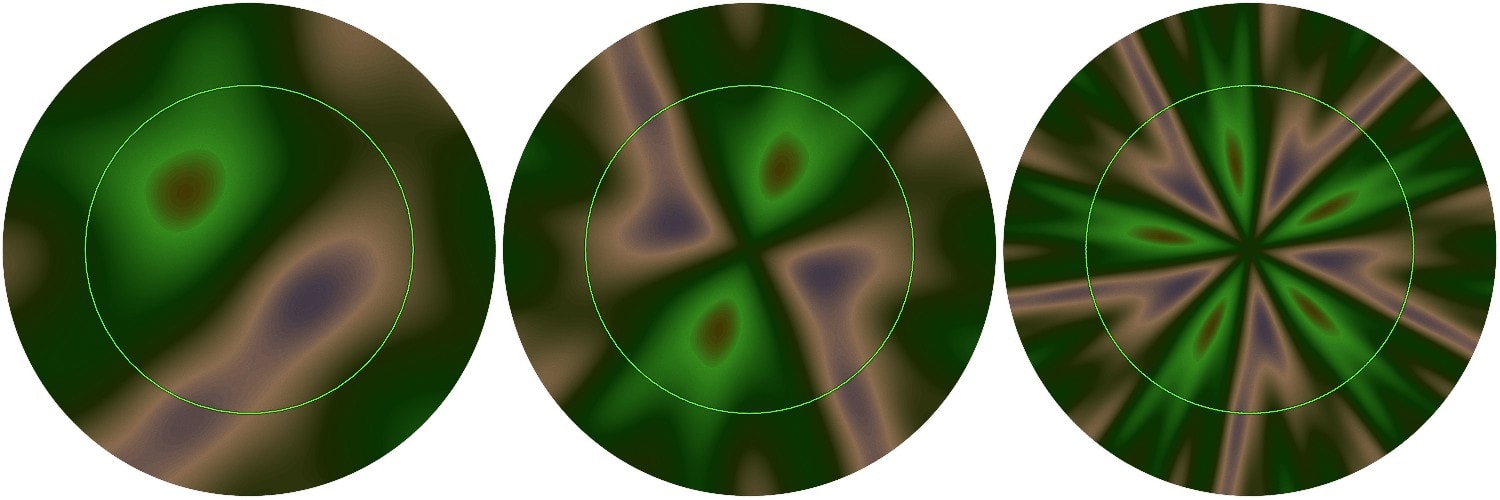
Setting dist to a value between 0 and 1 will do the opposite, squeezing the result toward the unit circle. Setting dist to a negative value will turn the result inside-out a la spherical (see spherical), which, as we will see, can be very useful. Negative values are also allowed for power; this also adds spherical but flips the result vertically. There are four possibilities:
| power | dist | math | effect |
 , positive , positive | 1 | ![z mapsto sqrt[n]{z}](https://cdn.shortpixel.ai/spai/q_lossy+ret_img+to_auto/www.jwfsanctuary.club/wp-content/ql-cache/quicklatex.com-a0bf204e9b8efeed03bec3126d18d819_l3.png "Rendered by QuickLaTeX.com") | power 1 is same as linear |
| , positive | -1 | ![z mapsto 1 / bar{sqrt[n]{z}}](https://cdn.shortpixel.ai/spai/q_lossy+ret_img+to_auto/www.jwfsanctuary.club/wp-content/ql-cache/quicklatex.com-bd49c8096e9d713683849759cf685c61_l3.png "Rendered by QuickLaTeX.com") | power 1 is same as spherical |
 , negative , negative | 1 | ![z mapsto 1 / sqrt[n]{z}](https://cdn.shortpixel.ai/spai/q_lossy+ret_img+to_auto/www.jwfsanctuary.club/wp-content/ql-cache/quicklatex.com-c70c1f414678cfbbe8198f174d6c16a0_l3.png "Rendered by QuickLaTeX.com") | power 1 is spherical, flipped vertically |
| , negative | -1 | ![z mapsto bar{sqrt[n]{z}}](https://cdn.shortpixel.ai/spai/q_lossy+ret_img+to_auto/www.jwfsanctuary.club/wp-content/ql-cache/quicklatex.com-f2705ea2af890671a5c4af166cb26345_l3.png "Rendered by QuickLaTeX.com") | power 1 is a vertical flip |
Using julian in a final transform produces a nice point symmetry as seen above. The effect is very different from using the Post Symmetry tab or the post_point_symmetry variation, which simply duplicate pixels as specified by the order without adjusting them; this often results in overlap. Both effects are useful, depending on the desired effect.
As an example of using julian in a final transform, I ran the built-in script Oily_Rev3 to generate a flame, then added a final julian with power 5. I then tweaked the flame to make something I liked. Except for the hole in the middle. To fill it in, I duplicated the layer and in the new layer changed dist to -1 and reduced the julian amount a lot (I ended up with 0.22), then tweaked that layer. There is still a hole in the middle, but it is now small enough to look natural.
There are times when the ring shape of julian is useful in building a flame. For example, to fill a glynSimm3, as described in glynnSim. We’ll see another use below.

Making images of Julia sets is normally done using an escape-time fractal program (or the fract_julia_wf variation in JWildfire, which uses the same algorithm; see Fract Variations). The equation used here is  , where c, often called the “seed”, is a complex constant that determines the particular Julia set. To determine if some point is in the Julia set, we iterate the equation starting with that point to determine its orbit. If the orbit never gets too far from the origin, the point is part of the “filled-in Julia set” or “inside”. The Julia set is the boundary of the filled-in Julia set.
For any given point, there are three possibilities:
- The point is in the Julia set, in which case
 will map the point to another point in the Julia set. Indeed, the entire orbit will be contained in the Julia set.
 - The point is inside, but not in the Julia set, in which case will map the point to another inside point, further from the Julia set than the original point. The orbit is contained in the filled-in Julia set.
- The point is outside, in which case will map the point to another outside point, further from the Julia set than the original point. The orbit approaches infinity.
The important point is that is a repeller for points not in the Julia set; it pushes points not in the set away. So what happens if we run it backwards? Let’s use the inverse formula:  . Since the original formula is a repeller for the Julia set, the inverse formula becomes an attractor; it maps points not in the set to points that are closer to it. This is exactly what we need to make flame fractals, and even though it isn’t obvious from our graphical description above, this is just what the julian variation does. The “c” part is not included in the variation itself, but is done by the pre-affine transform. As we drag the triangle around, we are essentially adding a complex value to it. The variation itself, with power set to 2, just takes the square root of the complex number corresponding to the input point. Since every number actually has two square roots (for example, the two square roots of 4 are 2 and -2), the variation picks one of the roots randomly. When power is some other value, n, julian takes the nth root and picks one of the n possible results.
The nice thing about doing this is how it copies and distorts other shapes. For example, if we use the blur variation to add a small disk to each of the examples above, we can see how it gets replicated throughout the fractal as it gets iterated.

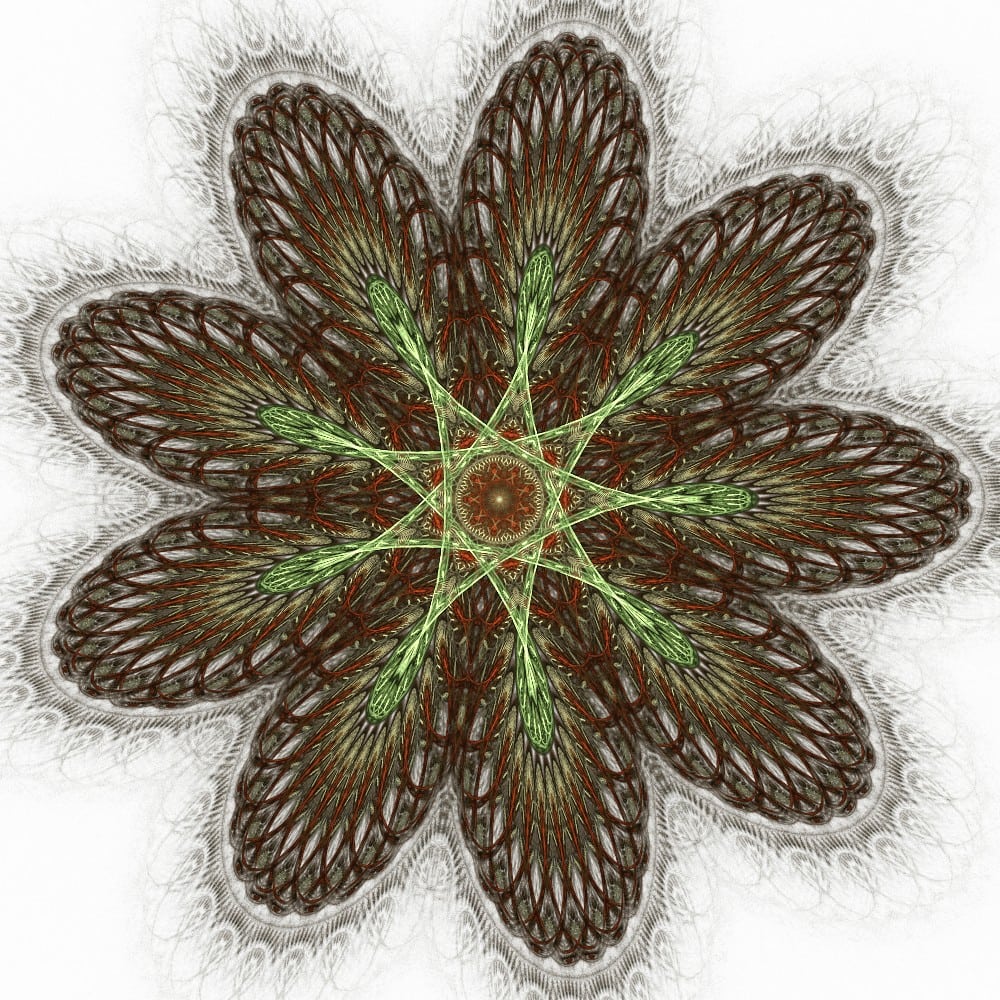
The disks are more difficult to show here because they are copied both inside and outside the fractal. But this is the basis for the popular Grand Julian style. The first three steps are shown below. The first transform has julian, normally with power 2 and dist -1, moved and rotated to make a nice julian shape. Then a transform with blur is added, as shown in the middle image. Notice how the disk appears with different sizes on both sides of the julia set. Next, a second transform with julian is added, this time with power set to a larger value (here 20) with a dist of -2. This forms a ring around the disk; the amount is adjusted to make it fit perfectly.
To finish it, we make it even more “grand” by adding yet another transform with julian to create a second ring, rotate it 45° to make it straight, and zoom in a bit. The sineblur variation was not available when Grand Julian flames were first described, but it gives a smoother effect (which may or may not be better than the “shininess” of blur).
Of course, the blur can be replaced with anything, though something that makes a circle will fit best. Alternatively, another transform can be added to provide some details in the centers, leaving the blur intact to give it the sense of embedding a pattern in the “gems”. Here we add a transform with bubble, adjusting the relative weights of the bubble and sineblur transforms to give the desired effect.
Julian works well with many different variations to create a variety of interesting results. To get started with exploring some of these, create a new flame and select a nice gradient. Add a transform, change the variation to julian, and set power to 20 to start with. Add a second transform, shrink the pre-affine transform by 115% and rotate clockwise 120°. Change the weight of the second transform to 2 and in the Color tab, set Color to 1 and Speed to 0.8. The result is a bunch of concentric rings, not very exciting itself, but it works well as a starting point. Click SShot to make a snapshot so we can come back to it easily.
Now for the fun part. Change the variation of transform 2 to some non-blur variation (blur variations will just put the blur in the middle with small repeats in a circle around it; not very interesting). There are lots of possibilities, so experiment. Many won’t be fruitful, but many will be. Play with the new variation’s parameters (if it has any), and try just rotating the transform 2 triangle to see what effect that has. Sometimes moving the triangle will be needed to get something interesting. Of course, don’t hesitate to tweak anything; that’s half the fun of JWildfire! But start small to see how the combination works.
Let’s try a couple of examples to see how this works. First, we set the variation on the second transform to circlize2, which morphs squares to circles by pushing in the four corners. Since we already have circles, it distorts them. The outer circle is from the julian, unaffected by circlize2. The next shape in is the circlized circle; it has four dimples from where the corners of the square would be pushed in. This goes on for each level. The three images below show three different rotation values for transform 2: the first is the 120° from our base. In the second, it is rotated right so the dimples of the successive layers get closer to each other (at 90° they would line up exactly and form a sort of cross). The last shows the opposite: the rotation is 135° (45° would have the same effect) so the dimples of each layer are at the widest point of the previous layer.
We left the circlize2 hole parameter alone. Increasing it puts a hole in the middle, which isn’t very interesting. But decreasing it (making it negative) has an interesting effect. In the following, we set hole to -0.05, set the rotation to near 135° (but not exactly, so it isn’t perfect). We also increased the julian power to 22, which makes the outer circle a bit thinner with a bit more texture, shifted the gradient and changed the color settings, and added a final transform with squarize. The squarize changes the outer circle to a square and undoes the effect of the first circlize2 (though not quite perfectly) so the first iteration is now a (slightly deformed) circle. The multiple colors seen in each ring are from the gradient, not some effect of the variations. Although it has a strong 3D appearance, this is a 2D flame.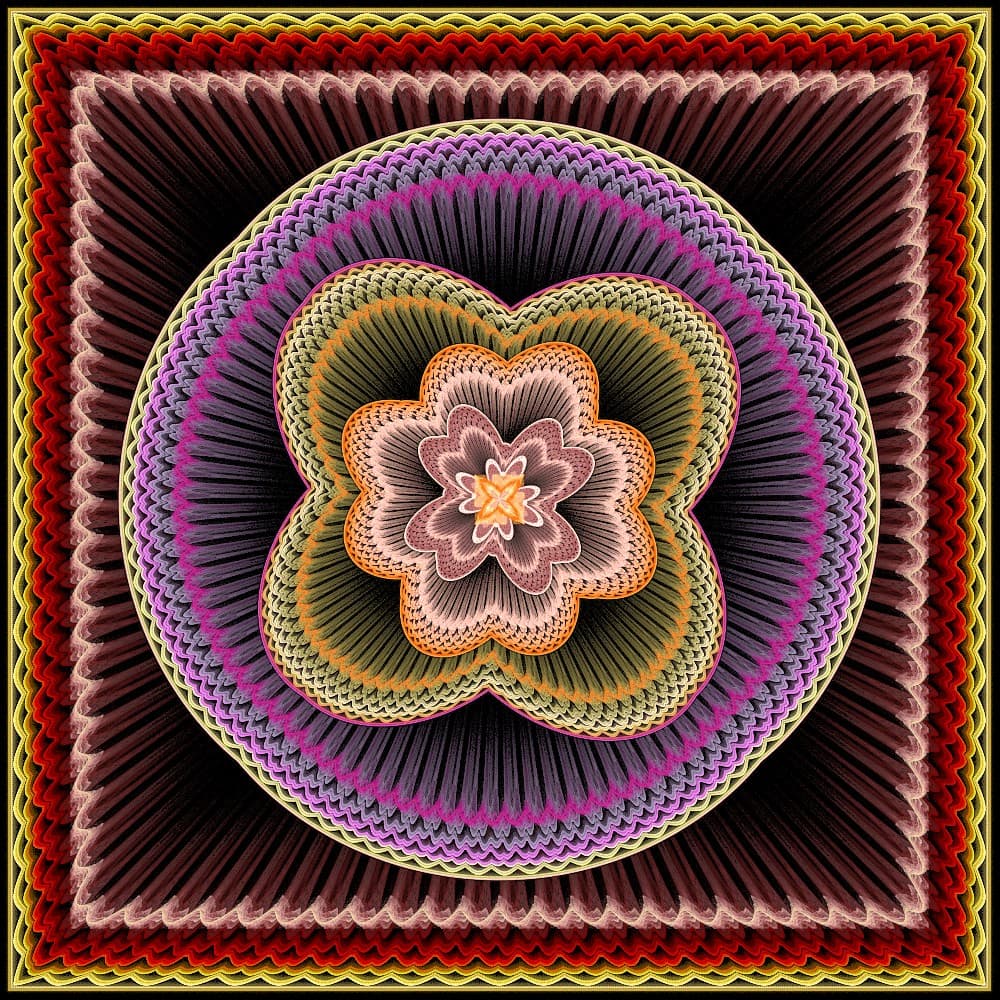
Let’s try another one. We right-click our snapshot of the base with linear to load it into the editor and click SShot to take another snapshot. We change the variation on transform 2 to bwraps7. This variation has several interesting parameters. Then we change cellsize to 0.5, inner_twist to 0.5, and outer_twist to -0.75. The result is the left image. Then we rotate transform 2 a bit and reduce the variation amount to 0.9 to reduce the overlap. For the last image, we reduced the julian power to 10, which made the outer right thicker so further reduced the bwraps7 variation amount to 0.85 to compensate. Then to better separate the colors we changed the color speed for transform 2 to 0.6.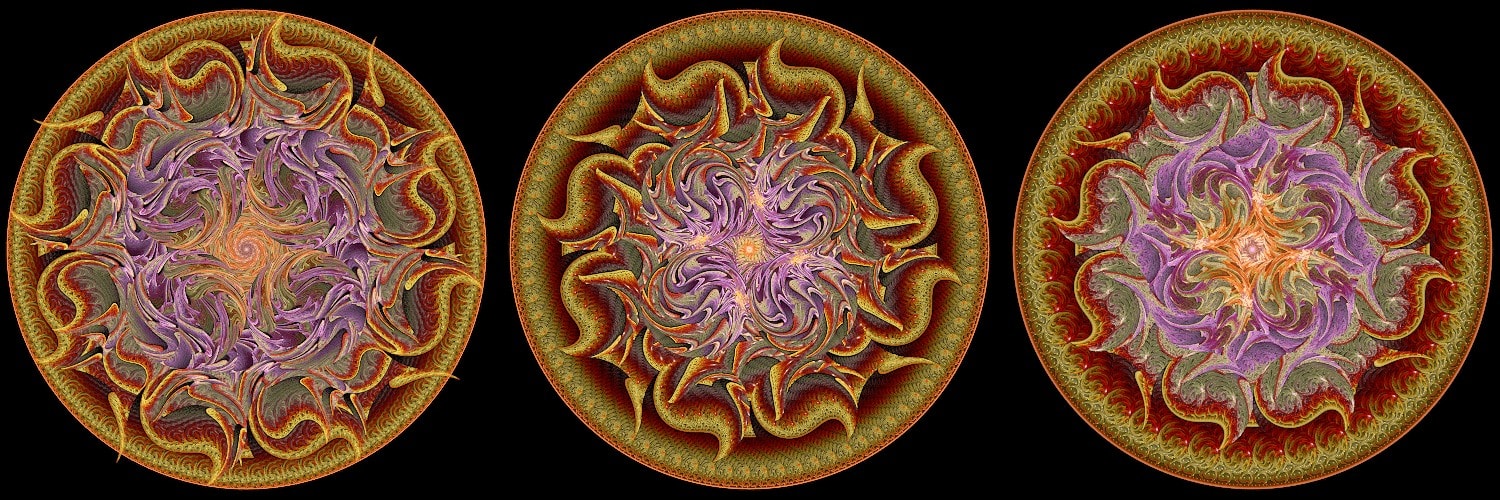
As example of what is possible with this technique, here are some images using other variations. The first uses sinh, and the second bCollide.

Putting two julian variations on a single transform can make interesting flames. Give the first julian a positive power with dist set to -1 and the second julian a negative power with dist set to 1. The examples below use powers 6 and -3. Set both amounts to 1, then decrease the amount of one of the variations to find an interesting shape. For the first example, the first julian was reduced and for the second example the second julian was reduced. Coloring with a single transform is difficult, so add a second transform; the examples below use circlize2 as the variation on the second transform, but many different variations work well.
Tiling is often a useful technique to make flames, and this works great with julian. Since julian is based on polar coordinates, let’s use julian as the base of a polar tile. Start with a new flame, add a transform, and change the variation to julian. Set the julian power to a nice number; we’ll use 10 in our example. On the Affine tab, move the transform right 0.75 units. The result is a circle with ten bumpy knobs around the edge. To tile this, add a second transform and change the variation to pTransform. Set use_log to 0 so we use polar coordinates (as opposed to log-polar, though that works too) and increase the move parameter to create the tiling; 0.4 seems like a good value to start with. The rotate parameter will offset the tiles from each other; we’ll use 0.314 (π divided by the julian power) to alternate them precisely. Change the weight to 1 to emphasize the tile and the color to 1 to distribute the colors, and we get this: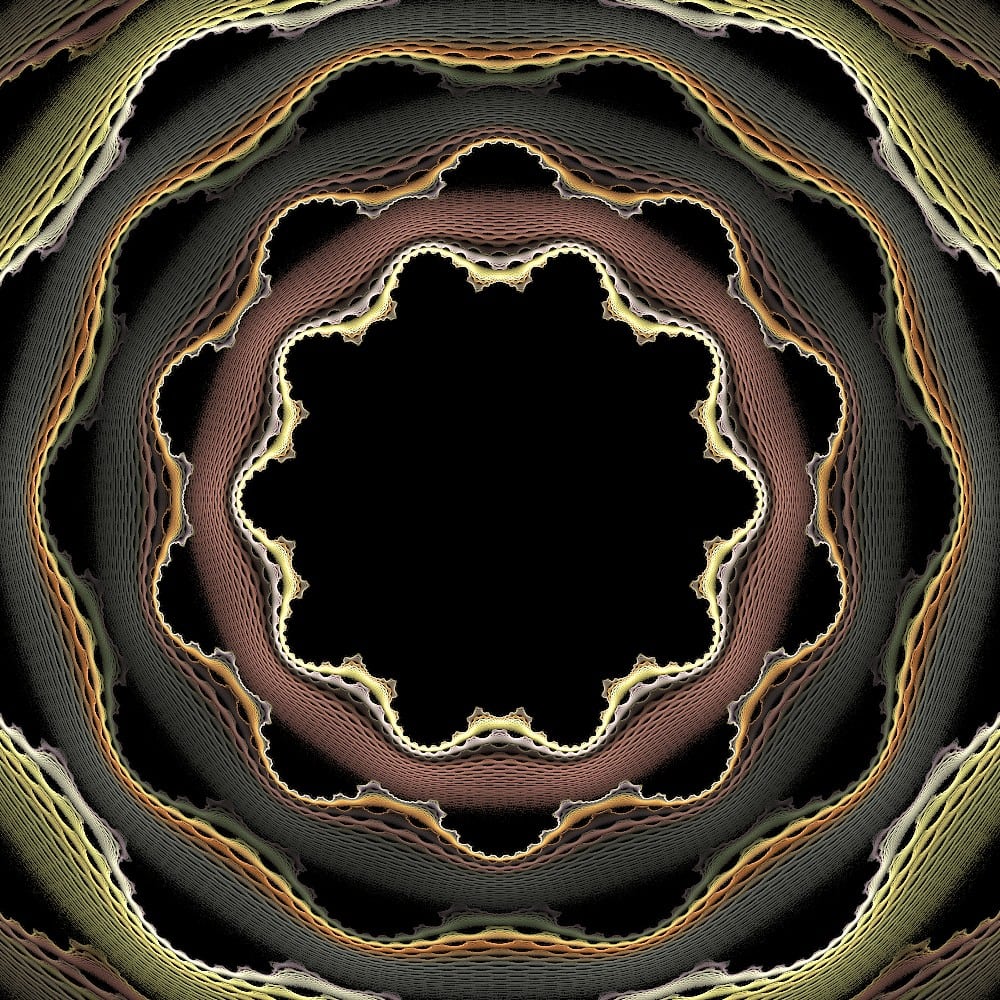
The bumpy circle from the julian is tiled radially by pTransform, and the tiling feeds back to the julian to create the textured rings, which are themselves tiled by pTransform. Filling in the center is actually not as hard as it may seem because the center will be replicated into the bumps; any circular filling will work, such as eyefish, disc, and hemisphere (as well as circular blurs, but they aren’t as interesting). In this example, we add a new transform, change the variation to disc, reduce the amount to 0.8 so it fits, change the weight to 0.25 and the color to 0.5, and fiddle with the triangle to get an interesting effect.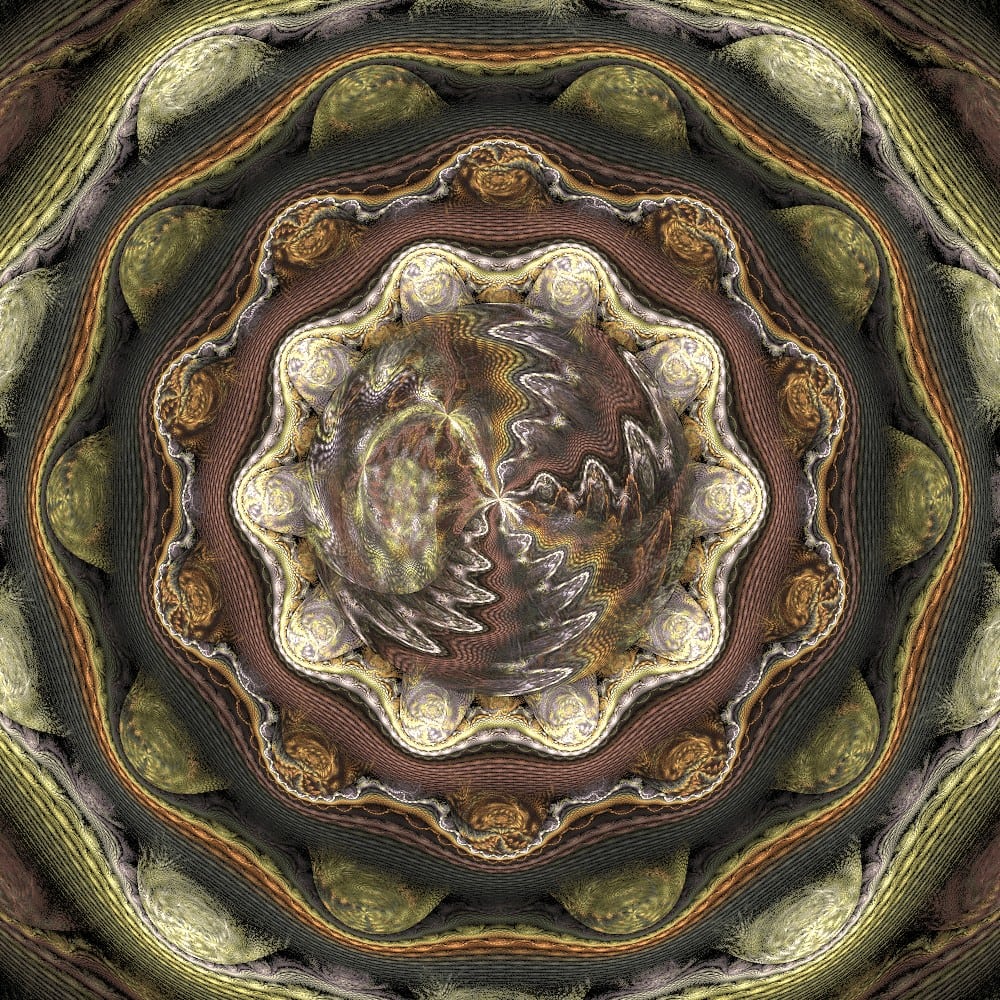
Julian based flames tend to be circular because of the polar coordinates on which julian is based. The easiest way to get other shapes is by adding a final transform. We’ve avoided this in most of our examples so we can focus on how julian works, but the following image was obtained by adding a final transform with coth to the previous image (as well as a few other tweaks, including a new gradient).
Julian is a very versatile variation, so it is no surprise that it has a lot of variations (there is a pun in there somewhere…). We’ll examine some of these and how they differ from julian. Many of them are missing the dist parameter, which reduces their flexibility. But they can still be useful.
Julia (without the final ‘n’) actually pre-dates julian; it was in the first flame programs. It is supposed to be the same as julian with power 2 and dist 1, however it was implemented incorrectly so doesn’t quite match; it swaps x and y. Although that would be easy to fix, doing so would break flames that use it, so it was left in its original form. (The fisheye variation, another one of the originals, has the same problem; it was fixed by creating the eyefish variation rather than changing fisheye.)
The eJulia variation works similarly to julian, but uses elliptic coordinates (see elliptic) instead of polar coordinates. This makes it behave quite differently, though similar techniques can be used if adjustments are made. For example, we can tile it, though we make an elliptic tiling using eMotion instead of a polar tiling using pTransform. Actually, two transforms with eMotion are needed, one to tile up and one to tile down. Here is an example; see the flame pack linked below for the parameters.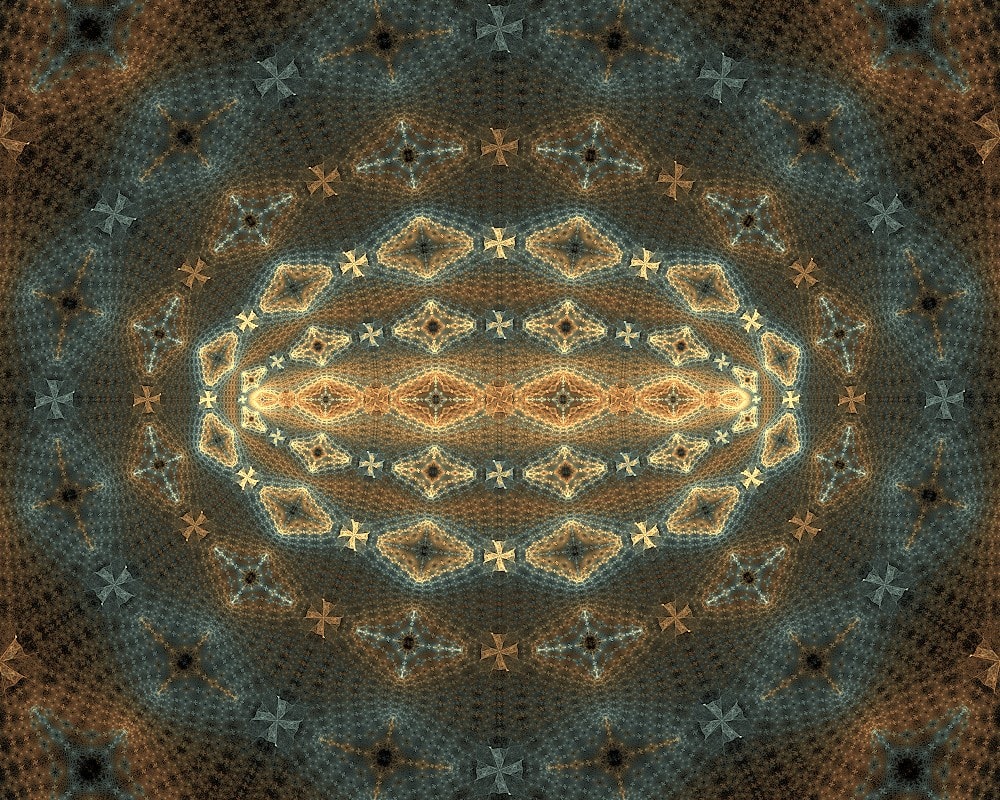
Here is a useful trick when working with eJulia: To adjust the eccentricity of ellipses (how wide vs high they are), adjust the post-affine X1 value before rotating or resizing the triangle. Increase it to make the ellipse more eccentric or to turn a circle into an ellipse, and decrease it to make it less eccentric. For example, to make a grand eJulian, we need to turn the circular blur into an ellipse by increasing X1 on its transform and decrease the eccentricity of the decorative eJulias by decreasing X1 on their transforms. Here is an example; again, see the flame pack for parameters.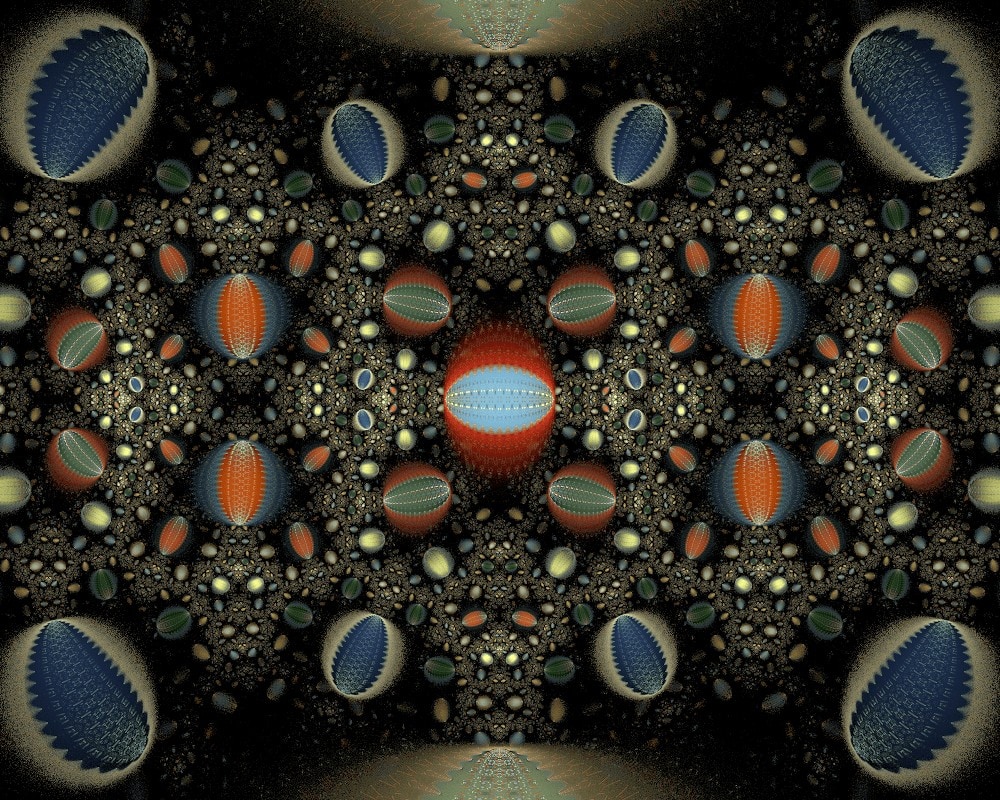
Juliascope is much like julian, but the result is always symmetric across the y axis. The difference is not very noticable when power is high, but give very different results when power is low. For example, compare this grand juliascope with the grand julian above.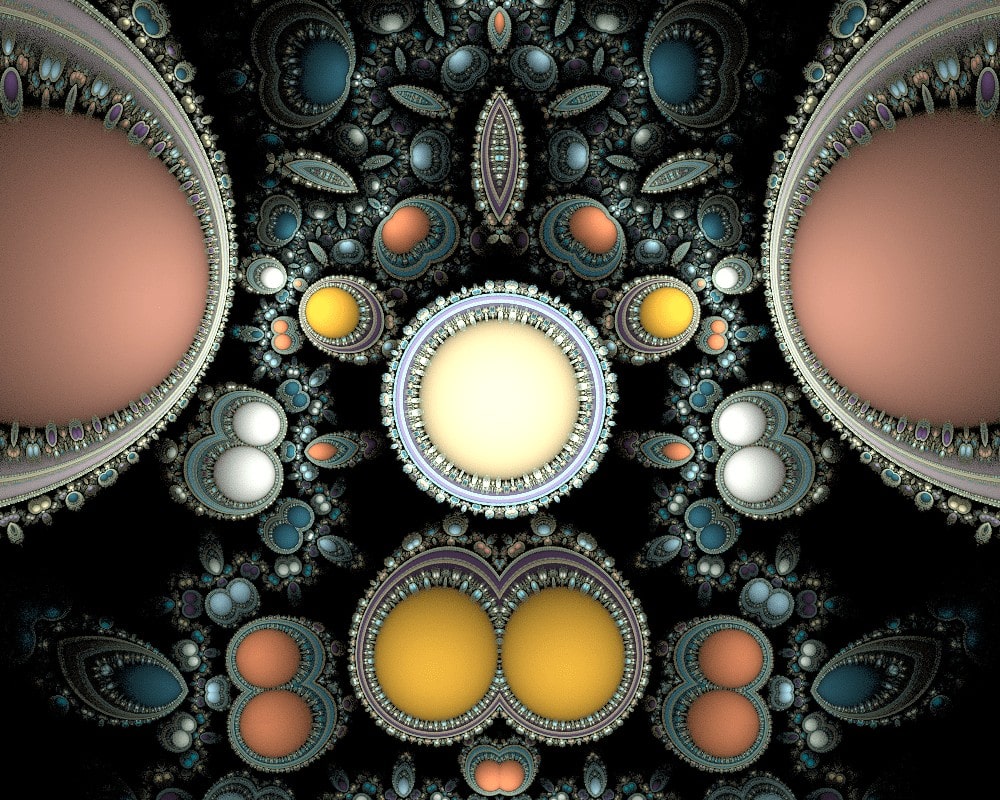
A unique use for juliascope is making “ducks” fractals. These were first made in the escape-time fractal world by taking the absolute value of just the imaginary or real part of a complex number, which would reflect the fractal across the x or y axis. Since juliascope reflects its result across the y axis, it can generate ducks fractals as well. In a new flame, add a new transform and change the variation to juliascope, with power 2 and dist 1. Shrink the triangle by 200% and rotate it right 135°. Then move it slightly to get different ducks fractals (it is helpful to enable Fine Edit mode); resize and rotate it slightly for even more variations. Here is one result:
Since there is only a single transform, it is monochromatic. We can add color with a second transform; here we use a simple linear3D, with a low amount to make it small, and rotated 180°. This adds some fill to the spaces in the flame as well as some color.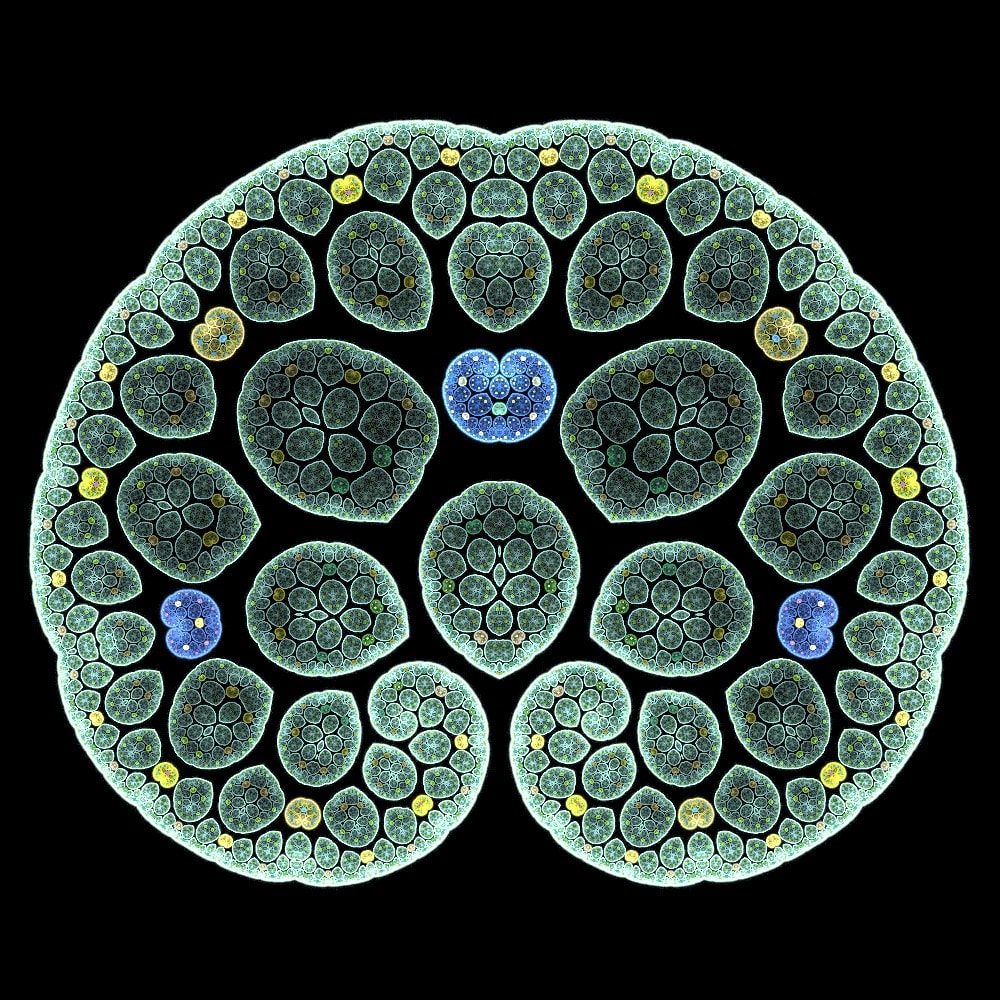
Julian2 is julian with extra parameters named a through f, used to apply an affine transform to the point before the actual julian transform. If used as the only variation in a transform, this doesn’t let us do anything that we can’t already do with the pre-affine transform. But it can be useful when combined with other variations on the same transform since the affine transform defined by the a-f parameters are applied only to the specific variation. For example, here is one of the double-julian flames above, with both julian variations replaced by julian2 using different parameters.
Phoenix_julia has several differences from julian:
- The power parameter is not restricted to be an integer. However, setting it to a non-integer value causes so much overlap it is not clear how this can be useful.
- The dist parameter is applied to the angle as well as the radius. It isn’t clear how this is useful either; setting the magnitude greater than 1 causes overlap and less than 1 causes gaps. Since negative values reverse the angle, making dist negative has the same effect as making power negative, making it behave differently from julian.
- There are two additional parameters x_distort and y_distort which do what they imply: add distortion to x and y. This is done first, so applies equally to each of the julia copies. It is very subtle when power is high. Use 0 for no distortion.
Juliaq is a julia variant that the author describes “allows you to turn N-sided things into M-sided”. It sort of does this if we set divisor to N and power to M, but the result has overlap and curved edges. It conveniently comes in a post version too: post_juliaq. Here is a dc_perlin pattern by itself on the left and twice with post_juliaq with divisor 4 since the original has four sides. The post_juliaq power is set to 3 for the middle image and 6 for the right one.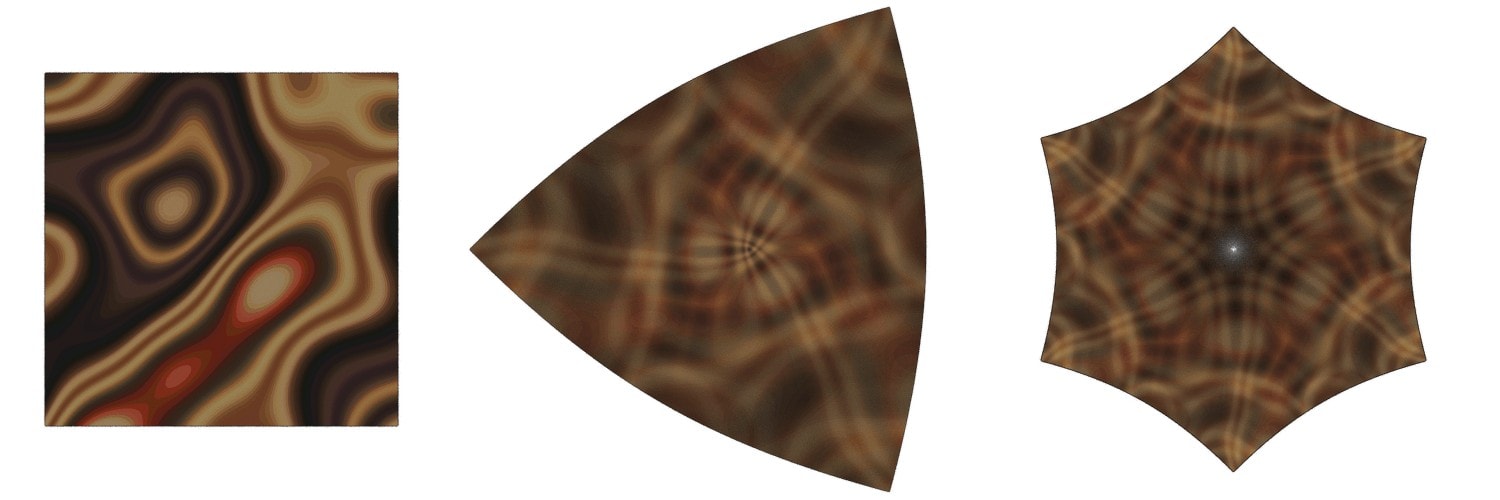
Despite this, and despite the lack of the dist parameter, juliaq can be used to make interesting flames using much the same techniques as julian. However, expect some overlapping. For example, here is a grand juliaq:
Juliac is julian with the integer power parameter replaced by a complex power, controlled by two parameters re and im (the real and imaginary parts). When re is an integer and im is 0, it works just like julian. Changing im gives an effect similar to escher. For example, here is the julian-sinh flame shown above using juliac with im set to -0.4.
Julian is based on complex numbers representing points on the plane, so is inherently a 2D variation. The 3D versions manipulate the z axis in different ways, not related to the Julia formula. The profiles of the variations are shown below, using the same dc_perlin pattern from the first image above; the julia power is set to 4, the camera pitch is 90° (to show the side view), and the line is where z=0. On the left is julia3D (julia3Dq is the same), in the middle is julia3Dz, and on the right is julian3Dx.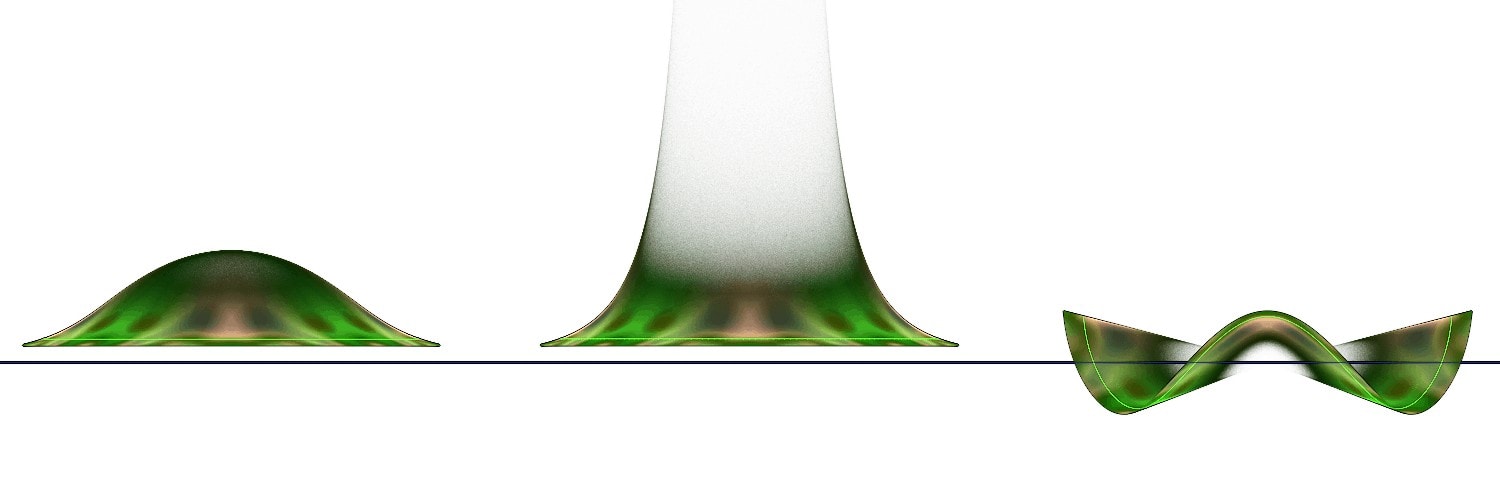
Julia3D will not change z if it is 0; for the images above, the dc_perlin pattern was moved up 0.5 units so julia3D could act on it. So if it is used with only 2D variations, something is needed to modify z or julia3D will be the same as julian (setting Preserve Z will make the 2D variations pass along the z value, but z needs to be something besides 0 to produce a 3D effect).
Using the technique described above for combining julian with other variations, we combined julia3D with curl3D. The curl3D cz parameter was set to a negative value, so the z value is upside-down compared to the profile above.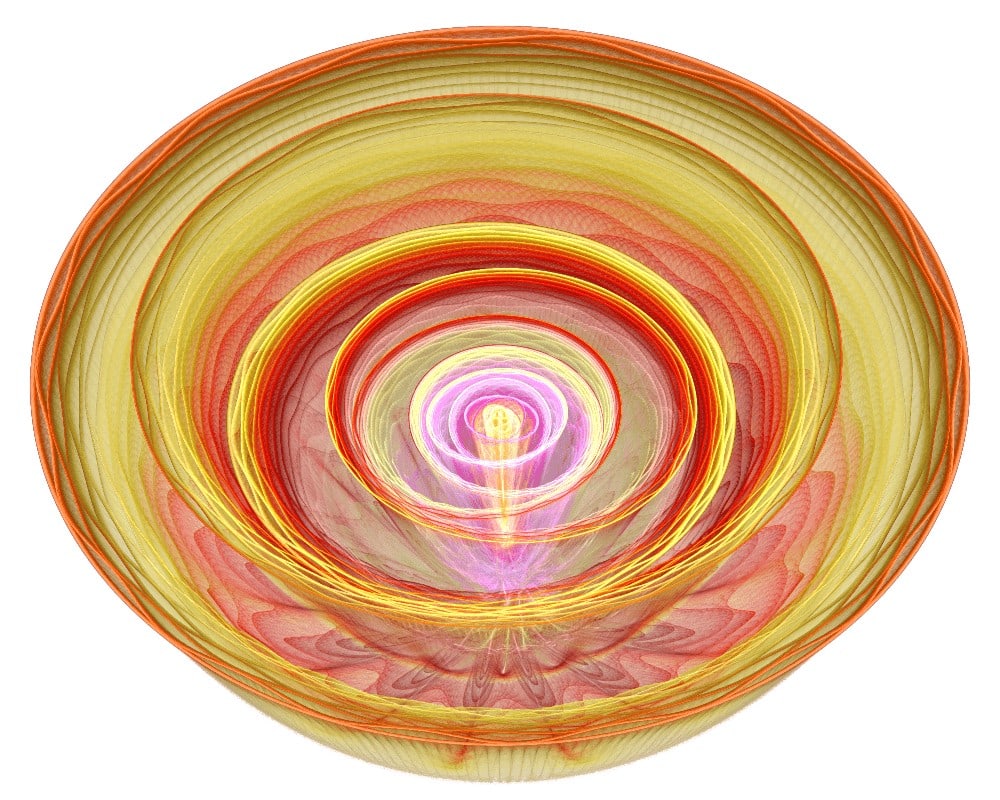
Julia3Dq and post_julia3Dq are the same as juliaq and post_juliaq but with the 3D effect of julia3D added.
Julia3Dz has a different profile from julia3D. It makes z very large near the XY origin, which can be difficult to work with.
Julian3Dx (note the ‘n’ in the name, which separates it in the variation list from the other 3D variations) creates a radial wave in the z axis with one cycle for each julian repetition. It also has the parameters a-f that control an affine transform like julian2. Here is an example using julian3Dx and curl3D.
Parameters
x_distort, y_distortFor phoenix_julia, control x and y distortion.
| variation amount | Scale factor for the output. |
| power | The julia power to use. The variation takes the power’th root of the input point, selecting one of the possible roots at random. Negative values are allowed and, as the math implies, inverts the result. |
| dist | The distortion factor, used to adjust the radial value of the result. Set to 1 (the default) for no distortion. Negative values add a spherical effect. |
| a, b, c, d, e, f | Coefficients for an affine transformation applied to the input point: x’ = ax + by + e and y’ = cx + dy + f. The defaults of a=1, c=1, and the rest 0 are the identity transformation. |
| re, im | For juliac, these replace power with a complex number; these specify the real and imaginary parts. With re set to an integer and im set to 0, the effect is the same as julian with power set to that integer. Setting im to a non-zero value gives an effect similar to escher or cpow. |
| divisor | For juliaq and julia3Dq, the number of sides in the input is divided by divisor and multiplied by power, converting a figure with divisor sides into a figure with power sides. |
Resources
Most of these are for Apophysis, but the concepts apply to JWildfire.
Julia Uncovered, a detailed guide to the julian variation by Claire Jones.
The Rings2 and Julian Guide by Claire Jones.
How Julia transforms work, video by chronologicaldot.
Julia, Julian, and Julianscopes tutorial by JP-Talmq.
Julian Set Outline Tutorial by ineedfire.
JWildfire Fun with Julia N Tutorial by Naomi Richmond (JWildfire adaptation of Julian Set Outline Tutorial).
How to Create Grand Julians in Apophysis by Stan Ragets.
<a href=”https://design.tutsplus.com/tutorials/fractal-art-create-a-3d-julian-fractal-in-apophysis–cms-23669″Create a 3D Julian Fractal in Apophysis by Stan Ragets.
Julia Grand 3D Tutorial by newMWH.
Grand Julian Gems Tutorial by Jimpan1973.
Julian Neon Tutorial by SaTaNiA.
A Broach for Julia N Tutorial by Naomi Richmond.
Lazy Julian Mini Tutorial by YarNor.
JWildfire Lazy Susan Julia N Tutorial by Naomi Richmond (JWildfire adaptation of Lazy Julian Tutorial).
JWildfire Dreamcatcher Tutorial by Naomi Richmond.
Spiked 3D Julian tutorial by fiery-fire. For Apophysis “color sym”, use “color speed” in JWildfire.
Wire+Tube Fractals Tutorial by CygX1.
