Description
The most commonly used coordinate systems are rectangular coordinates and polar coordinates (see polar). But these aren’t the only possibilities. One of the less common coordinate systems is bipolar coordinates. Although their mathematical application is specialized, they can be used in variations to make interesting flames.
Name: bipolar
Type: 2D
Author: Joel and Michael Faber
Name: bTransform
Type: 2D
Author: Michael Faber
Rectangular coordinates are based on two families of parallel lines (horizontal and vertical) where each line in the first family intersects each line in the other at a right angle.
Bipolar coordinates are instead based on two families of circles where each circle in the first family intersects each circle in the other at a right angle (mathematically, they are called Apollonian circles). The circles in the first family intersect each other at two focus points (with rectangular coordinates (-1,0) and (1,0)) that are centered on the y axis. The circles in the second family do not intersect each other and surround the foci, with centers on the x axis. This is illustrated in the following diagram: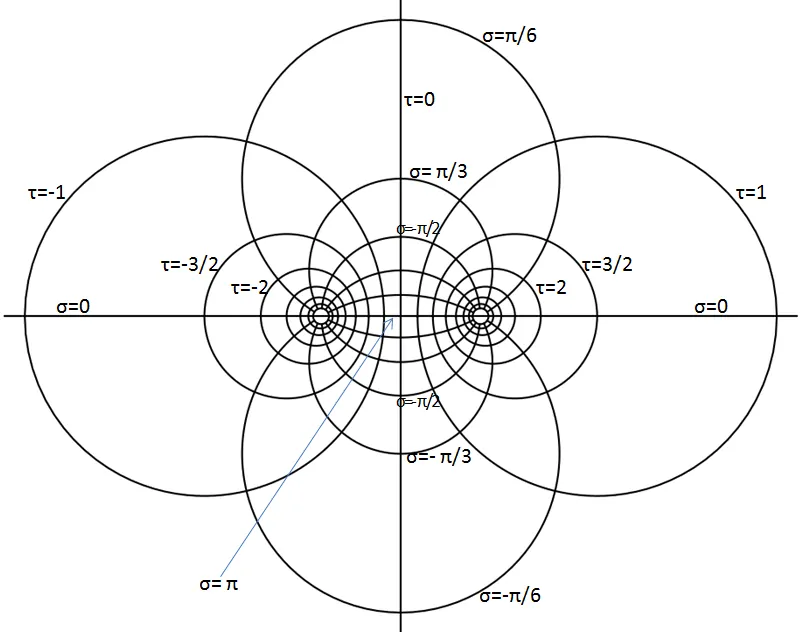
Each point on the plane corresponds to an intersection of a circle from each family, represented by a pair (σ, τ) using the Greek letters sigma and tau, where σ identifies the circle in the first family and τ identifies the circle in the second family. We don’t need to understand the gory mathematical details of how the circles are defined to use the bipolar plugins in JWildfire, but a basic understanding of how they work is helpful.
The first value, σ, is an angle (in radians) that can range from -π to π, and corresponds to an arc of a circle between the foci that goes up for positive σ and down for negative σ. The smallest circle is when σ=π/2 or -π/2 and is centered at the origin. As the magnitude of σ decreases (as σ gets closer to 0), the corresponding arcs get larger and larger until σ=0, where the “arc” degenerates to the x axis excluding the segment between the two foci. As the magnitude of σ increases, the corresponding arcs get smaller and smaller until σ=±π, where the arc degenerates to the line segment between the two foci. The normal equivalence of angles outside the range -π to π works here; for example, σ=3π/2 (270°) is equivalent to π=-π/2 (-90°).
The second value, τ, ranges from -∞ to ∞, where the corresponding circles get larger and larger as τ gets closer to 0. The degenerate case where τ=0 corresponds to the y axis, and where τ=±∞ correspond to the focus points.
To see how this works, here is a bipolar tiling made with a transform with blur (the center disk), two transforms with bTransform with the move parameter set to 0.8 and -0.8 which shrink the disk and move it towards the two foci, and two transforms with bTransform with the rotate parameter set to π/4 and -π/4 (same as ±45°) which rotate the line of disks into circles containing eight disks each. (The vertical line of disks does contain eight, but only seven can be seen. The last one is centered at ∞). Compare this with the rectangular and polar tilings shown at polar.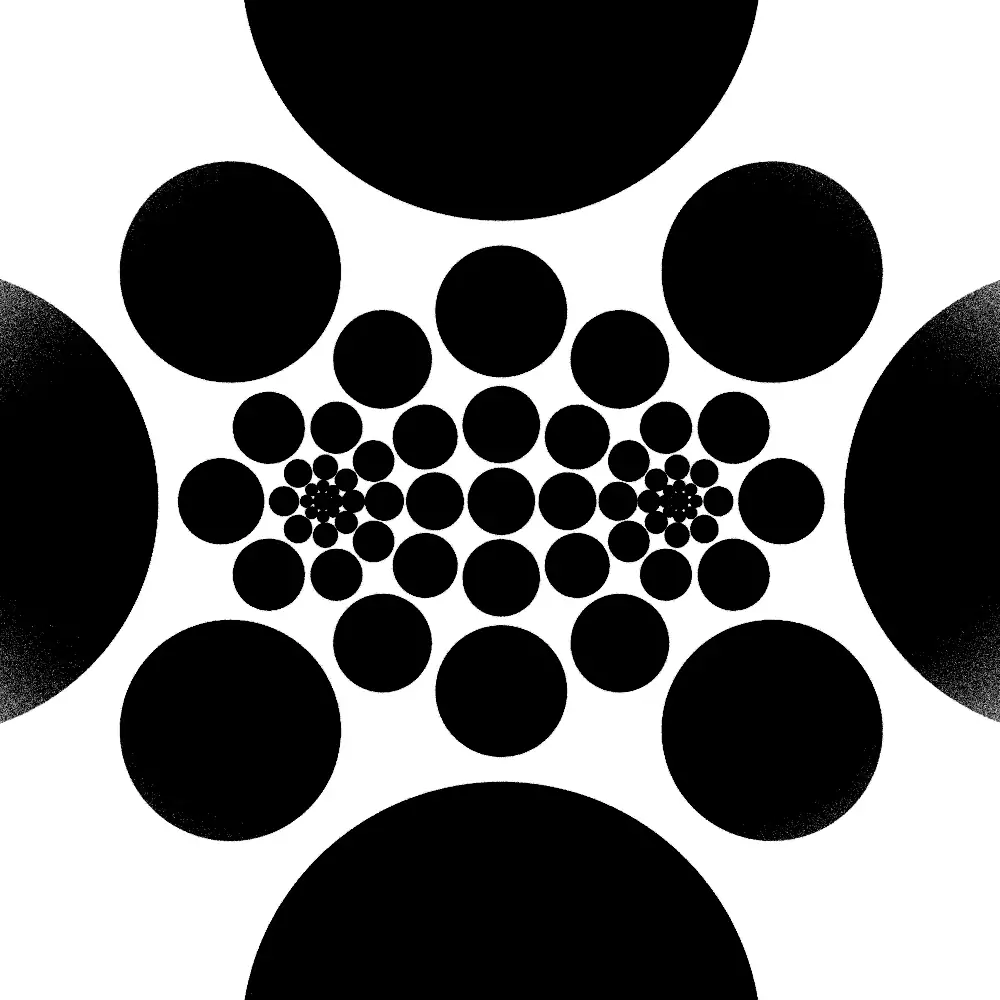
We can use bipolar tiling to make a more interesting flame by choosing a better gradient and changing the blur to another variation; here we use asteria and scry, respectively.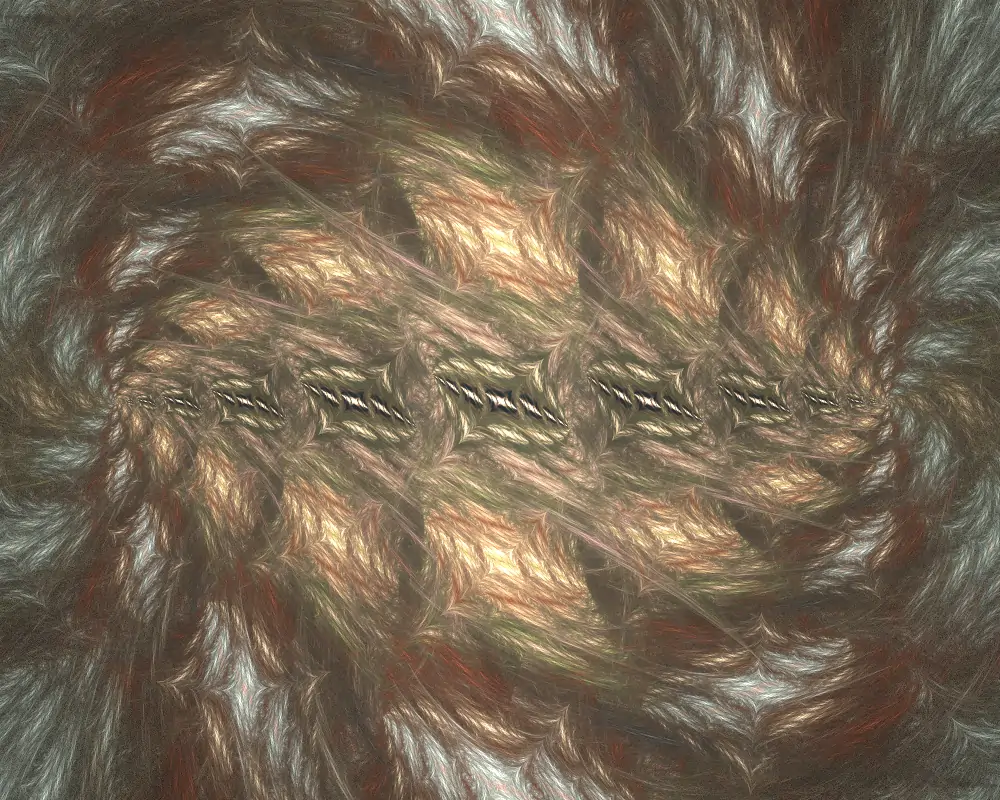
The bTransform variation has four parameters: rotate, power, move, and split. Rotate and move just add that value to σ and τ respectively, which is what we did above to make a bipolar grid. They can be used generally as well, and are especially useful when bTransform is used in a final transform. Rotate doesn’t really “rotate” the flame in the normal sense; increasing rotate moves the flame up while at the same time expanding the area above the x axis and contracting the area below it. Examine the line of vertical circles in the grid above and note how they change going from the bottom to the top one. Move is even less intuitive; increasing it moves points between the foci right, but points outside the foci left. Examine the line of horizontal circles in the grid above, starting at the smallest circle around the left focus and going outward to the largest circle on the left, flipping around to the y axis, then to the largest circle on the right, and finally continuing to the smallest circle around the right focus.
This is actually a lot easier to see by taking some flame and adding a final transform, changing the variation to bTransform. With the default values, it is the same as linear, so the flame works the same. Now increase and decrease rotate and move to see their effect on the flame. Judicious use of bTransform in a final transform can add interest to a flame, subtly curving straight lines and breaking up the symmetry. Change the pre-affine transform to refine the effect.
Replacing a linear or linear3D variation with bTransform is an interesting way to tweak a flame (though bTransform is a 2D variation, so won’t replace linear3D in 3D flames). Since the default parameter values make bTransform the same as linear, the replacement won’t change anything at first. But now there are some parameters to tweak to change the shape of the flame. Changing rotate and move are most effective in this application, though there is no harm in trying the others.
The split parameter splits the flame in half, moving the halves away from each other. But we’re using bipolar coordinates here, so it introduces some curvature. Here is a square colored with dc_perlin linked to a transform with bTransform with split set to 0.15.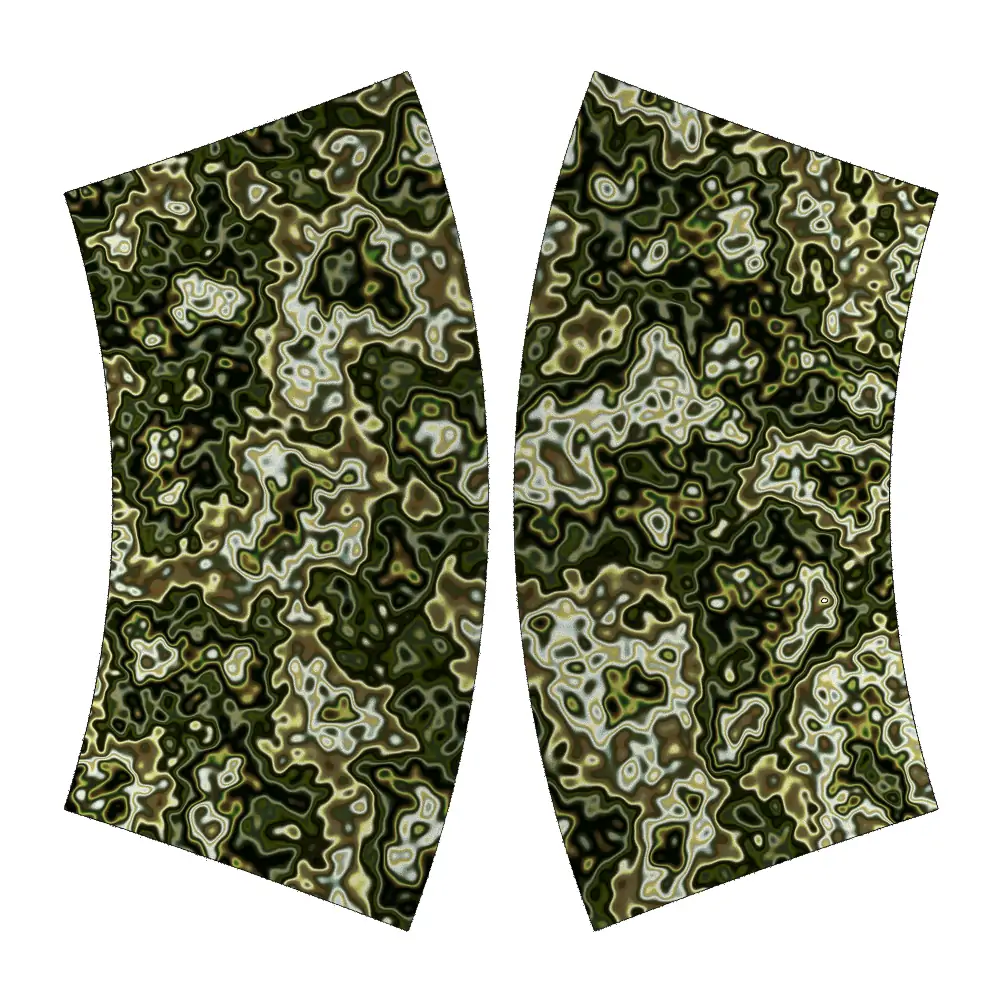
When splitting a flame like this, it is natural to want to fill the gap. But finding something the right shape is tricky. Fortunately, bTransform can do it using the power parameter, which must be an integer with a value at least 1. Both σ and τ are divided by the power moving them closer to 0. Since σ=0 and τ=0 correspond to the x and y axes, setting power larger than 1 has the effect of turning the flame inside-out. The flame is also repeated power times along the y axis corresponding to different values of σ, but one of the repetitions is “at infinity” so not visible. Here is the same dc_perlin square linked to a transform with bTransform with power set to 13 (only 10 repetitions are visible at this zoom level).
Combining these two shows how they fit together. This flame was made by first creating a transform with dc_perlin and adjusting the values to get the design. Then the Add Linked Transform button (labeled “L”) was clicked to add a linked transform and the variation changed to bTransform with the split value set to 0.15. Finally, the Duplicate Transform button (labeled “Dupl” was clicked to duplicate the second transform and the power and split values set to 13 and 0.
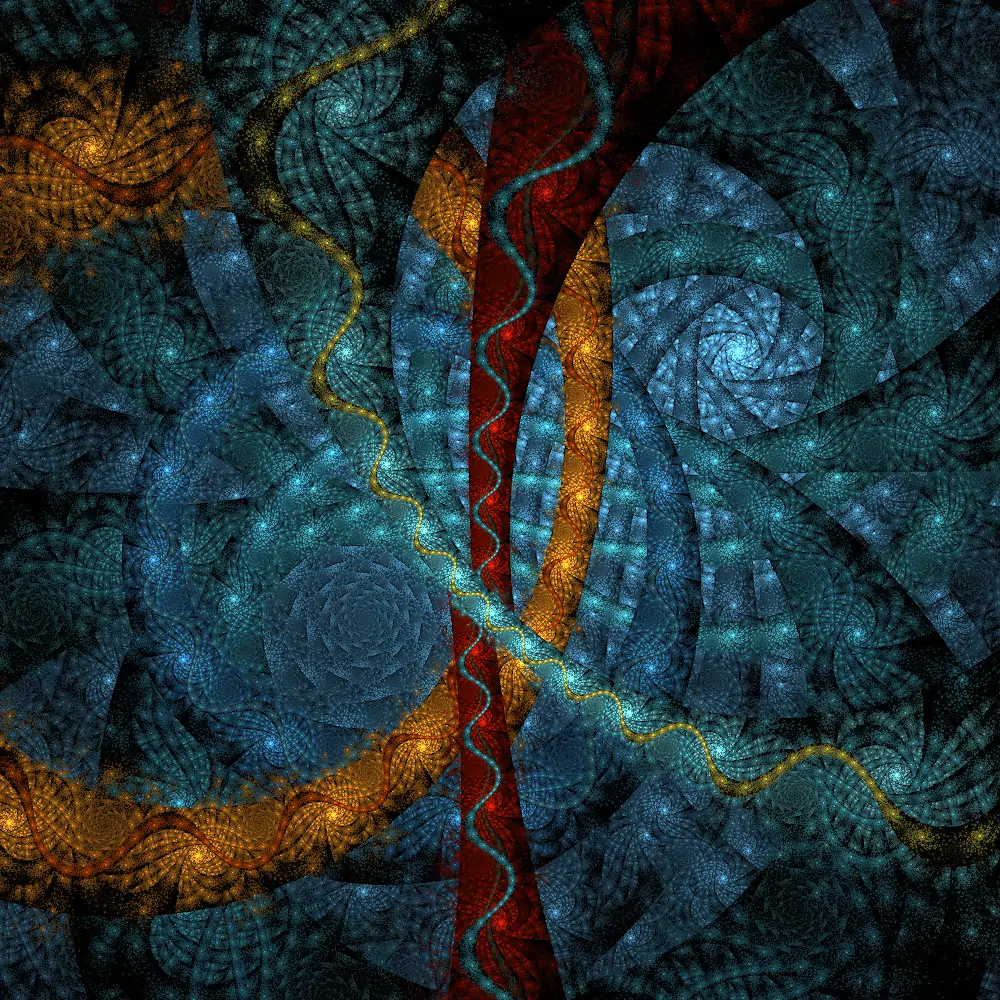
To turn this into something more interesting, we change the blur variation dc_perlin to a normal variation (we’ll start with linear3D) and adjust the color values to get the following base flame (parameters are in the flame pack linked below).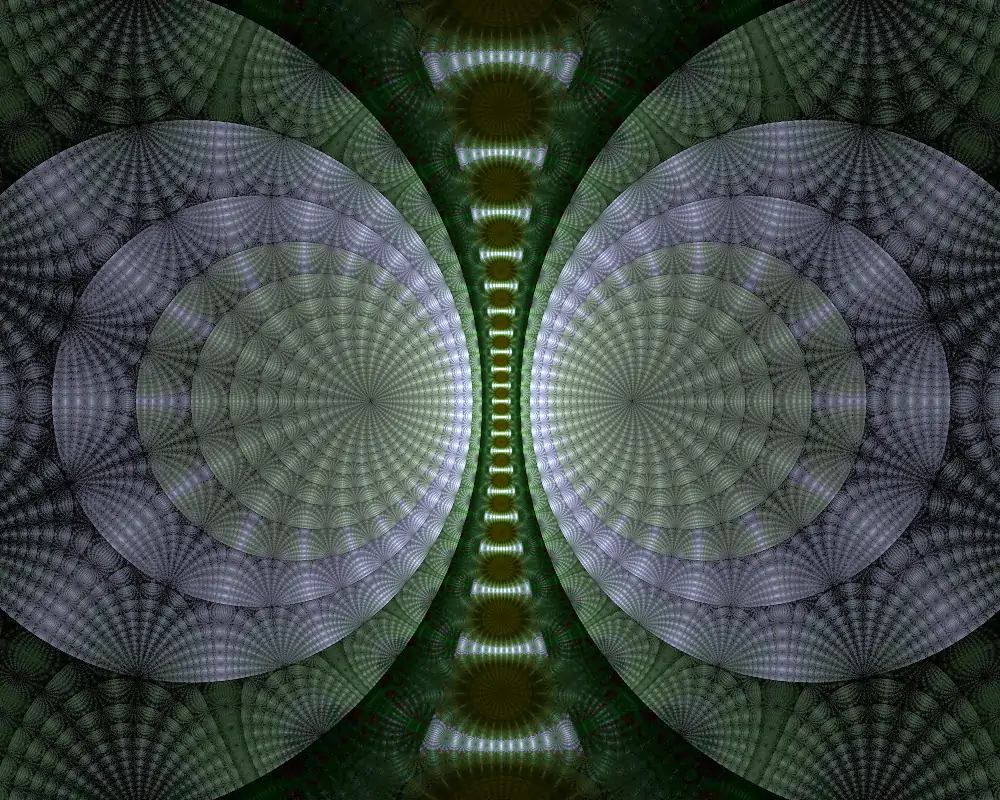
This can be tweaked in the usual ways, particularly changing the linear3D to something else. The Color Speed values are particularly sensitive for this style, especially on transform 2. Here are two examples of tweaking this base flame. The first replaces linear3D with squarize and has a final horseshoe. The second follows the suggestion above, replacing linear3D with bTransform and adjusting the rotate and move values, and has a final bTransform as well.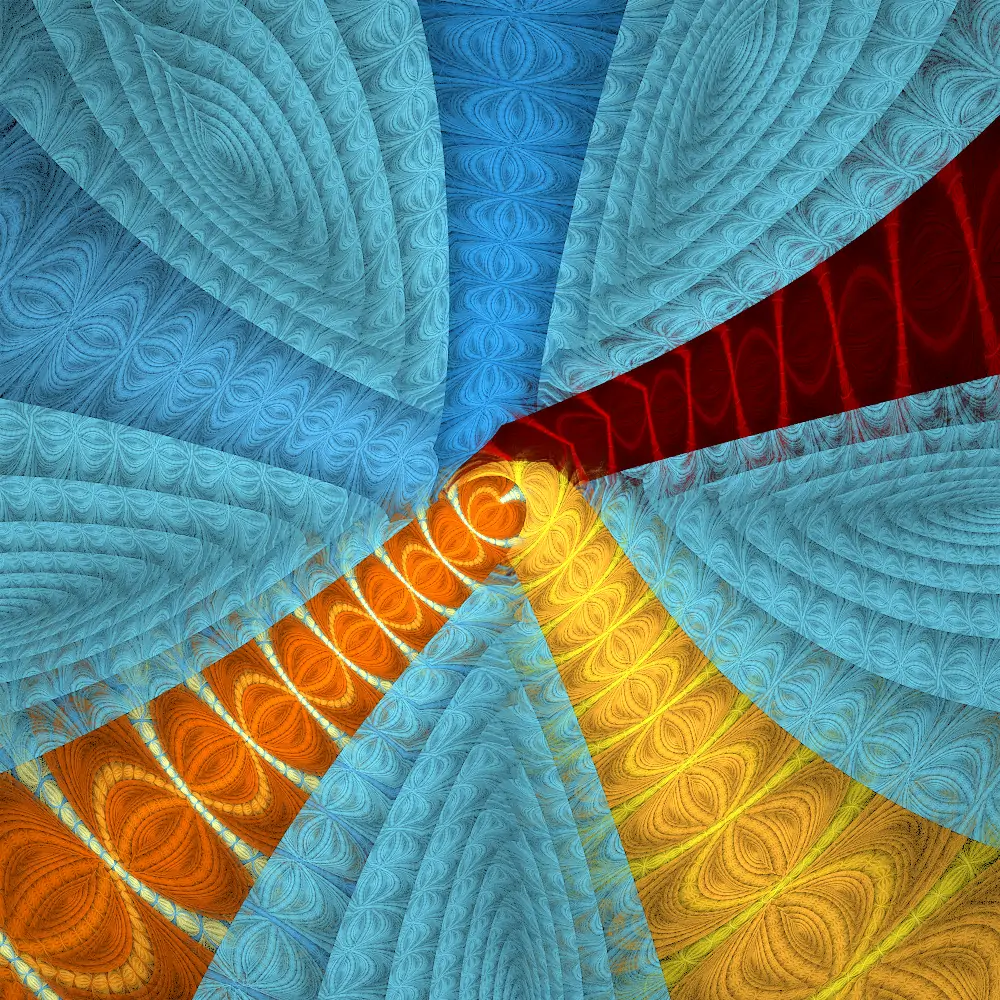
The bipolar variation takes the bipolar coordinates (σ, τ) of a point and treats them as rectangular coordinates, setting x=τ*π/4 and y=σ/π. This is much like the polar variation does with polar coordinates, but the angle coordinate is mapped to y instead of x, so the result is a horizontal bar instead of a vertical bar. If we take the bipolar tiling above and add a final bipolar, we get a truncated rectangular tiling:
To get a full rectangular tiling, we simply need to tile the bipolar vertically, both up and down. Of course, this is a complicated way to make a simple rectangular tiling! But this is a common technique when the input to bipolar is more interesting, and is used by several tutorials such as the Bipolar Tutorial by Lucy–C, the Bipolar Shapes Tutorial by SaTaNiA, and the Endless Flame Tutorial by pillemaster. Naomi Richmond has adapted all three of these tutorials for JWildfire; see the Resources section below.
Rather than explore these tutorials, let’s look at some other uses of bipolar. It works well with many other variations. In general, rotate the pre-affine transform associated with bipolar 90° to get a nice pattern. Here are some examples: The first combines bipolar with julian, the second with popcorn2, and the third with circlize2.

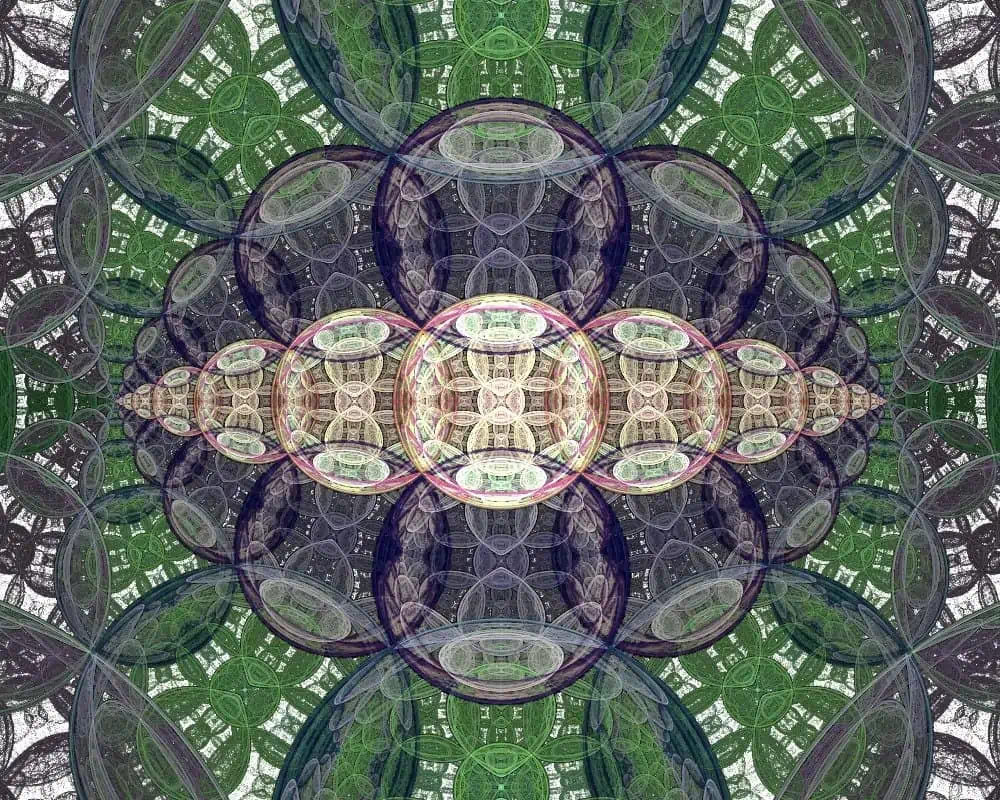
To finish, we’ll make a double bipolar flame. We use bipolar twice: once with the pre-affine transform rotated 90° and once with the post-affine transform rotated 90°. The bipolar shift parameter is 0 for the first and 1 for the second. Increasing both pre-affine transforms by 110% and adjusting the color, we get this:
There are lots of holes, but two primary ones: the biggest ones on the left and right. If we fill them, the filling will be duplicated to fill in all the other holes. Although the holes have lots of bays around the edges, using an ellipse shape to fill the hole will fill the bays too, so it isn’t as hard as it looks. We first choose a variation that produces a circular shape; we’ll use plain disc, although there are several disc and other variations that produce circles (like eyefish and bubble). We start by adding a new transform, changing the variation to disc, and shrinking the amount to make the result the approximate width of the hole: about 0.2. Then choose post-affine and move the disc right 0.75 so it is centered on the hole. Make a final adjustment to the size so it fits the width: 0.215. Then stretch it vertically to fit by increasing the Y2 value to 1.2. Adjust the color and speed settings, and reduce the weight to make it less prominent. Now duplicate that transform and change the post-affine O1 transform to -0.75 to fill in the other hole. A horizontal or vertical flip (click one of the Flip buttons, above Preserve Z) can help with symmetry. Here is the result:
A couple of tips for tweaking this:
- Start with the flame that has the holes. Tweaking it will probably change the size and position of the holes, so it is easiest to get the desired structure and then fill in the holes.
- Don’t worry if the holes aren’t filled perfectly the first time. Getting the holes filled just right will usually take a few iterations.
- Remember to use the post-affine transforms to adjust the size and location of the holes. Changing the pre-affine transforms will change the appearance of the filling; we didn’t do that above, but it is certainly worth exploring.
Parameters
bipolar
| variation amount | Scale factor for the result |
| shift | Shifts the result up if positive or down if negative, wrapping to the other side when it gets above 1 or below -1 (scaled by the variation amount). The effective range is -1 to 1; values outside that range are accepted but don’t result in anything new. For example, shift = 1.5 is the same as shift = -0.5. The default is 0. |
bTransform
| variation amount | Scale factor for the result |
| rotate | Amount to change the σ value of the input point. It rotates the flame around the foci, but since the foci are not the centers of the circles, this results in scaling as well. The effective range is -π to π; values outside that range are allowed, but have the same effect as a value within the range. |
| power | Both σ and τ are divided by this value, which must be a positive integer at least 1. The flame is also repeated power times, resulting in multiple smaller copies. |
| move | Amount to change the τ value of the input point, moving the flame toward the right focus if positive or the left focus if negative with characteristic distortion. Any value is valid, but large values will make the flame very small. |
| split | Splits the flame in half at the y axis, moving each half toward the respective focus with the same distortion as the move parameter. Negative values are allowed; they move the halves in the opposite direction, causing overlap. |
Resources
Bipolar Flame Pack 69.18 KB 333 downloads
Flame pack to go along with Rick Sidwell's Bipolar guide ...Bipolar Tutorial by Lucy–C
Bipolar Cylinders Tutorial by Naomi Richmond (JWildfire adaptation of Lucy–C’s tutorial)
Bipolar Shapes Tutorial by SaTaNiA
Bipolar Shapes Tutorial by Naomi Richmond (JWildfire adaptation of SaTaNiA’s tutorial)
Endless Flame Tutorial by pillemaster
Infinity Flame Tutorial by Naomi Richmond (JWildfire adaptation of pillemaster’s tutorial)
Cropping Bipolar Posts by Naomi Richmond
The ‘b’ series, exploration of bTransform by UltraGnosis
Taking bTransform further, more exploration of bTransform by UltraGnosis
Putting a Gnarl into bTransform by Escherymack
bSeries by Michael Faber contains Apophysis plugins which are not useful with JWildfire, but also contains a flame pack with examples of using bTransform


Thanks very much for putting all these together Rick.