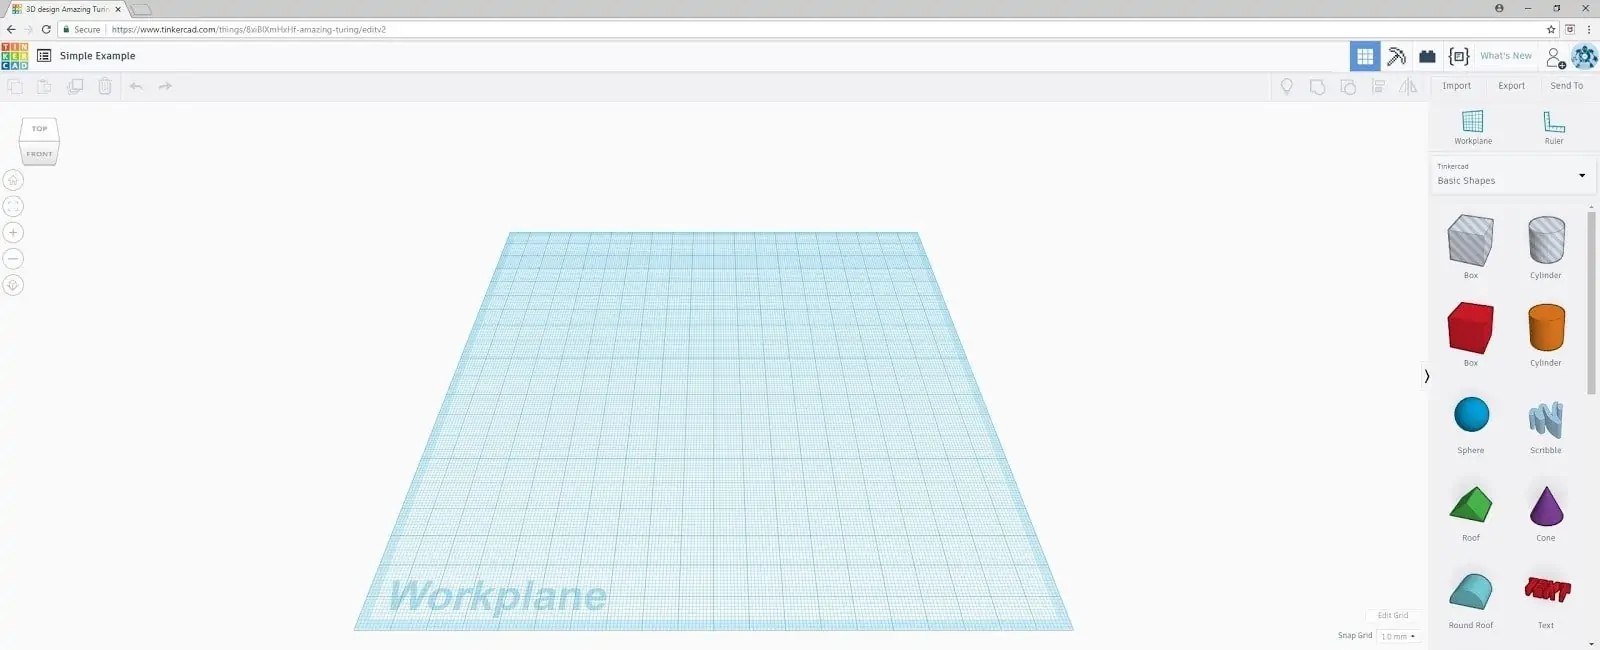
This is an example of how to make a 3D object with TinkerCAD.com. First, you would sign up for a free account on the tinkercad web site. Once you’re logged in, click the button for Create new design.
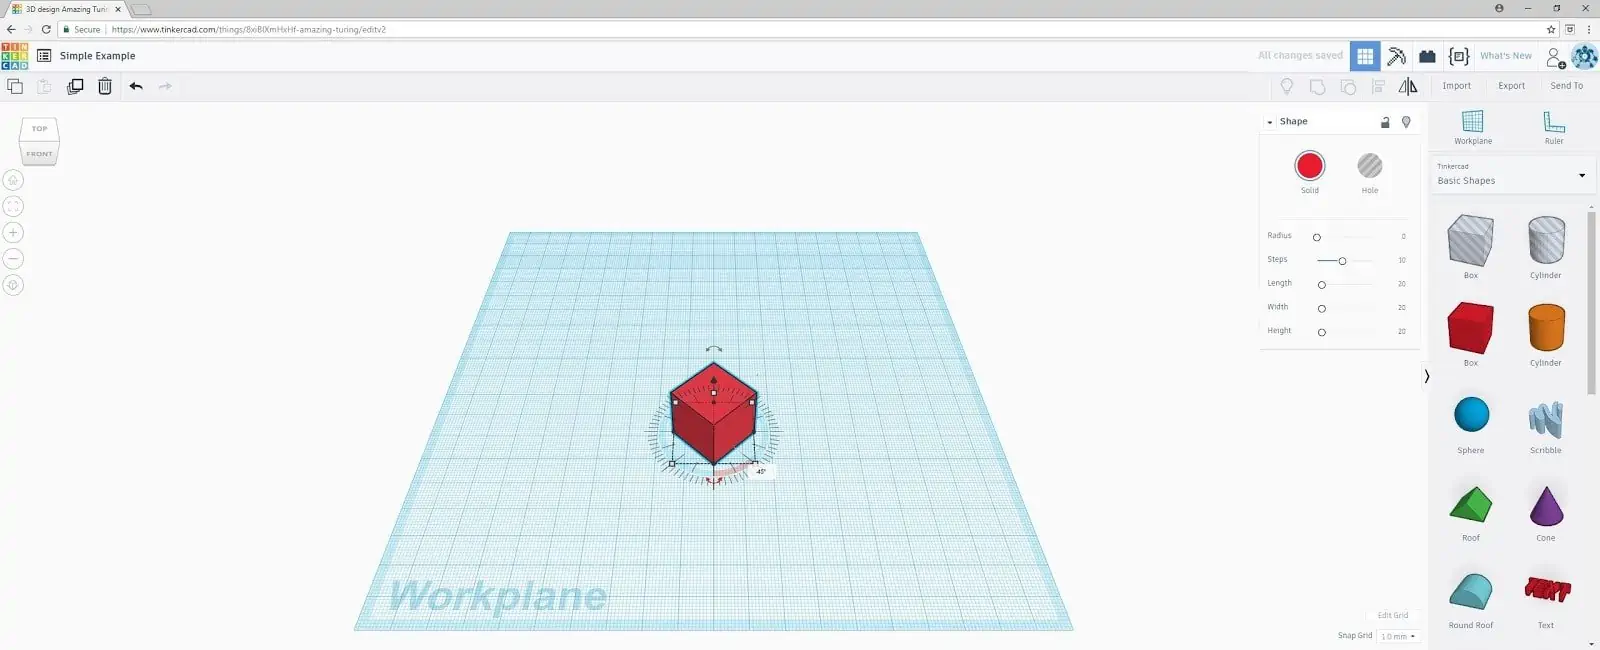
I chose a couple of basic shapes, and dragged them out to the work plane. There are different points you can select to stretch, move, or rotate each shape. It’s difficult to figure out which point does what.

Dragging the right mouse button rotates the plane. Pressing shift while clicking on each object will select more than one at a time.
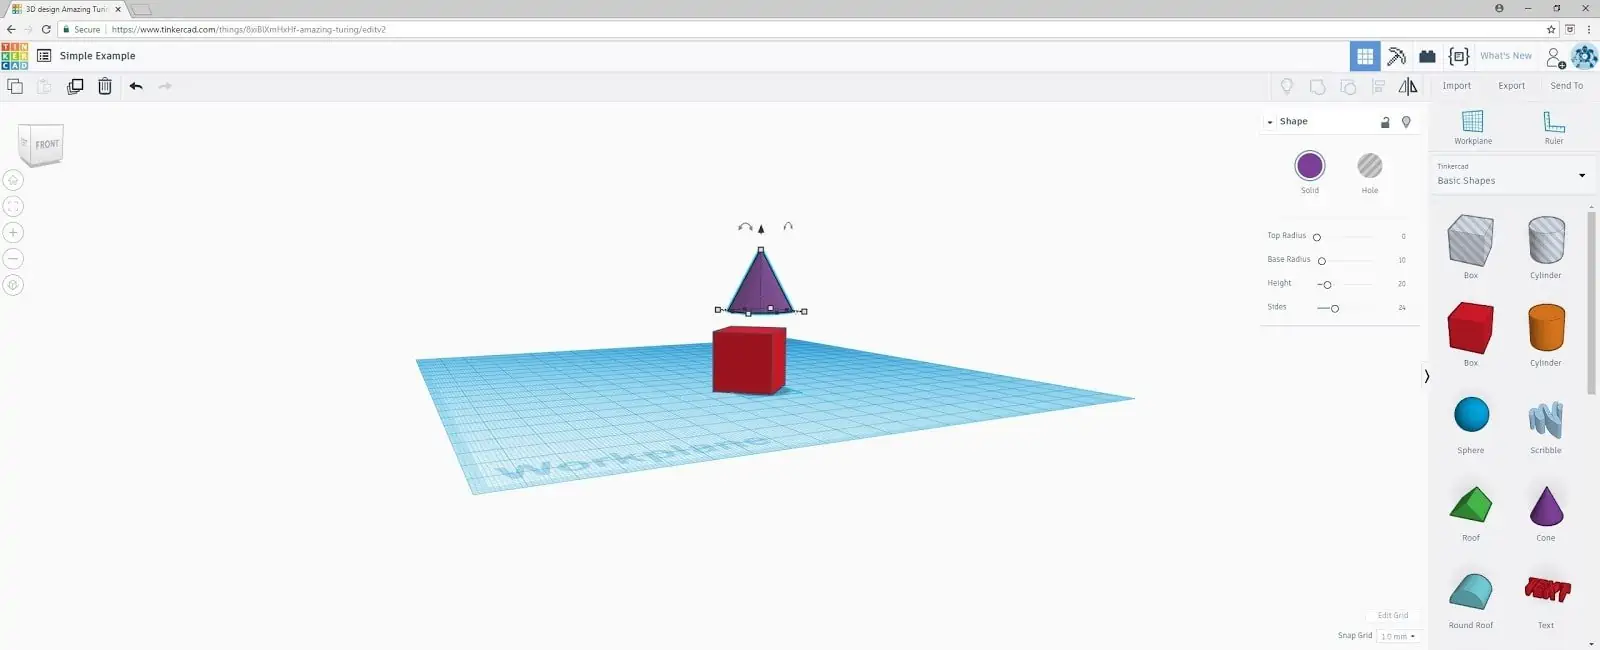
In this view, you can see that I don’t have the shapes lined up and stacked together the way I wanted them.
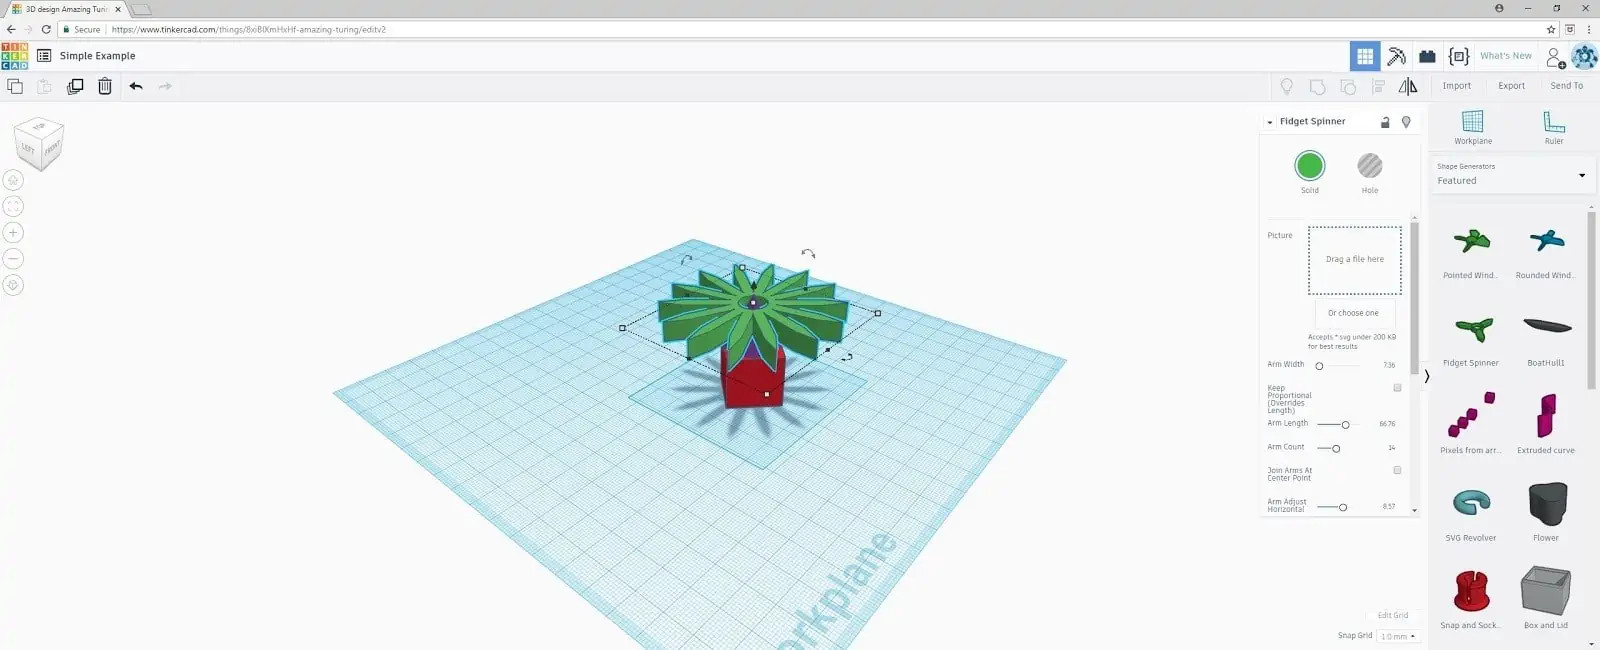
In addition to basic shapes, there are also options for text, shape generators, and other pre-made parts. I added a shape generator called Fidget Spinner and customized it.
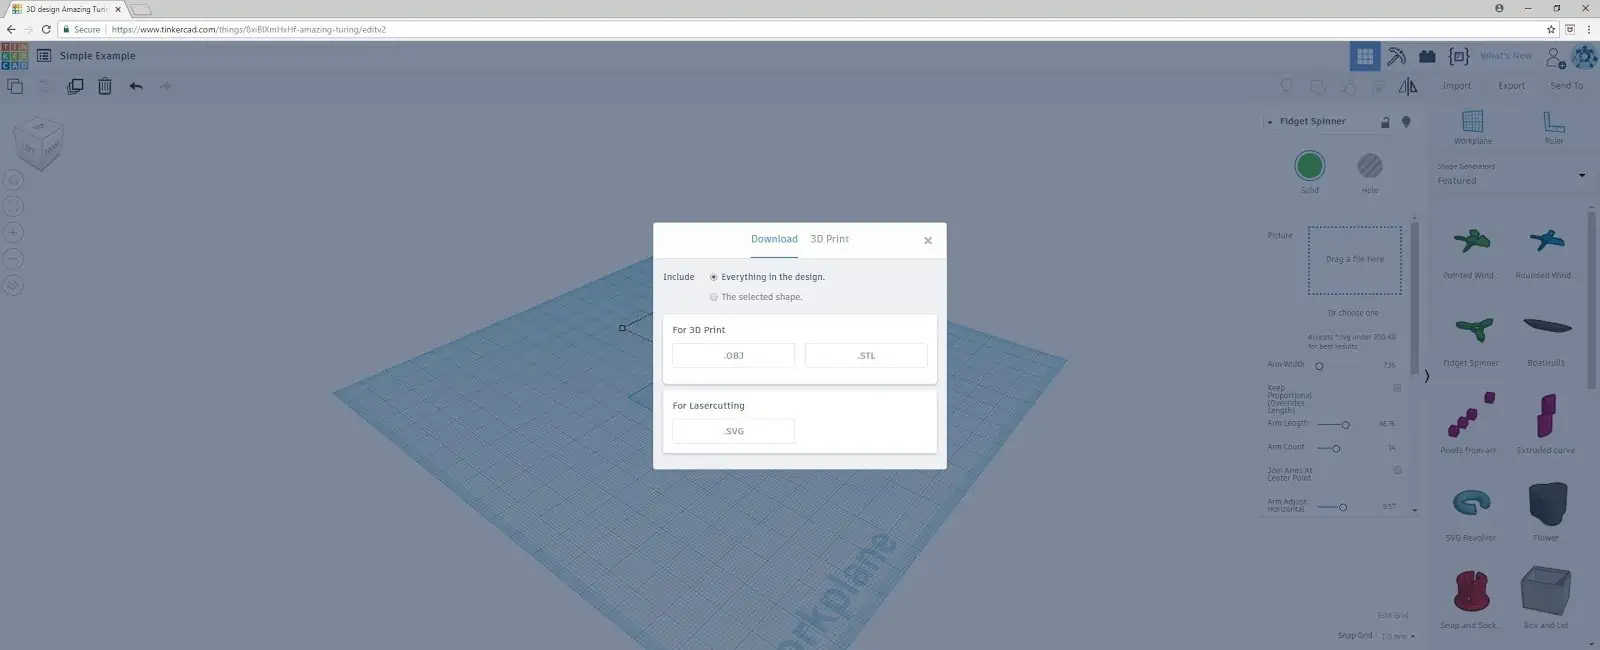
The next step is to save and then export your design. JWildfire can use .obj files, so that’s what I picked. It created a zip file that saved in my download folder, and then I unzipped it and moved the .obj file to my preferred folder.

Next, I imported it into JWildfire using obj_mesh_wf. Click on the gear to select the object filename. If you see a plain cube, then it hasn’t worked. (This object didn’t load until I moved it into the folder that JWF was set to look for .obj files in). After I loaded it, I still didn’t see anything. I needed to shrink the object, zoom out, change the angle, and make sure the color wasn’t set to black. Now that I have the object loaded, I can use linear to make more copies of it, duplicate the transform, or add other transforms to create a scene.


